


Unbounce is a SaaS company that helps marketers and non-technical people build great-looking landing pages. Their WYSIWYG editor is easy to use and even - dare we say - fun to work with.
One way or another, you’re paying to drive visitors to your landing page (PPC or SEO). Now you have the opportunity to get some extra mileage from your traffic by encouraging them to share your product or service using Friendbuy. Generate additional customer referrals from those new visitors!
Enabling Friendbuy-powered sharing on your Unbounce landing pages is fast and easy. Once installed, you can test and optimize for higher sharing rates from your Friendbuy account.
Unbounce Integrations
What follows are the two most common way folks use Unbounce and Friendbuy together.
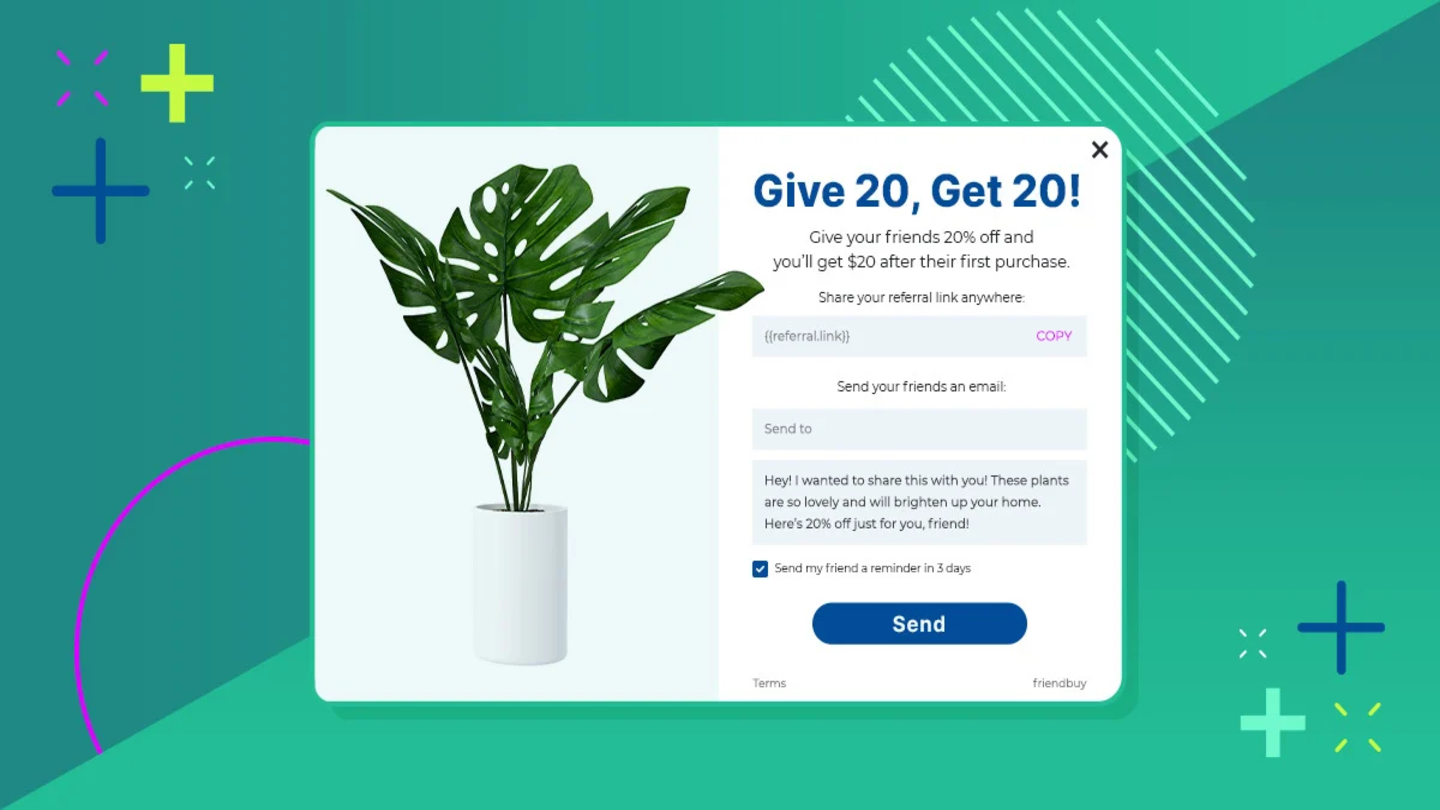
- A referral share button on your Unbounce Main Page that triggers a widget overlay. This allows visitors to your landing page to share before converting.
- A referral widget on your Unbounce Form Confirmation Dialog that displays an embedded widget. This allows visitors to your landing page to share after converting.
Unbounce Main Page
- Create a Friendbuy widget for your Unbounce Main page
- Widget settings: Edit > Options > Widget Style > Overlay > Off
- Add a Friendbuy SmartPixel into the Main Page of your Unbounce page by choosing the JavaScripts Icon from the Unbounce editor
- Choose Placement > Head
- Paste your Friendbuy SmartPixel
- Click “Done”
- Add Custom HTML from the Unbounce Editor (left-hand nav bar) and drag a custom HTLM box onto your page where you want to place your Share Button
- Re-size the HTML box (same size as your share button) and position it on the page where you want the Share Button to appear
Unbounce Form Confirmation Dialog
- Create a Friendbuy widget for your Form Confirmation Dialog
- Widget settings: Edit > Options > Widget Style > Embed
- Add a Friendbuy SmartPixel into the Form Confirmation Dialog of your Unbounce page by choosing the JavaScripts Icon from the Unbounce editor
- Choose Placement > Head
- Paste your Friendbuy SmartPixel
- (Optional) Also paste your Friendbuy Conversion Tracker if you are tracking referrals to your Unbounce page
- Click “Done”
- Add Custom HTML from the Unbounce Editor (left-hand nav bar) and drag a custom HTLM box onto your Form Confirmation Dialog where you want to place your embedded widget
- Re-size the HTML box (same size as your widget) and position it in the dialog box where you want the Widget to appear
